


If cutting them yourself is something you really can’t do with your dog, you can reach out to a groomer in your area. Not all groomers are the same, though, and you wouldn’t want your dog to create a worse association with nail trims than your dog already has. So how do you find a safe groomer to help your dog through their fear, stress, or anxiety about nail trims?
any great grooming salon has an open-door policy and encourages potential clients to visit their shop. Ask for a tour and inquire about which groomer is best with certain ages, breeds, and any other specific needs you might have.
An ethical groomer will be a part of a pet professional association (or a few), such as the National Groomers Association of Canada, Atlantic Professional Groomer’s Association, Canadian Association of Professional Dog Trainers, and The Professional Pet Guild, to name a few. As yet another unregulated industry, being a member of a Pet Professional Association shows the commitment to a standard of care.
If you know any of their clients, or even asking on a social media platform, asking for testimonials from actual clients, specifically about how their dog feels, behaves, or reacts when arriving to and leaving from the groomer. Learning about dog body language is important for every guardian, as well as every pet dog professional. Learning the signs of fear, stress, and anxiety is really important as it’s the dog’s only way to communicate. Here is a great infographic from Fear Free Pets regarding body language:
Preparing a Puppy for Grooming
Introduce Different Grooming Tools and Handling
As soon as you bring your new dog home, it’s time to start introducing grooming tools and positive handling. Everything your puppy experiences during their critical socialization period (between 7-16 weeks old) has a huge impact on their future behavior. Starting positive grooming practice long before they need an actual groom will go a long way in helping them be less stressed with grooming.
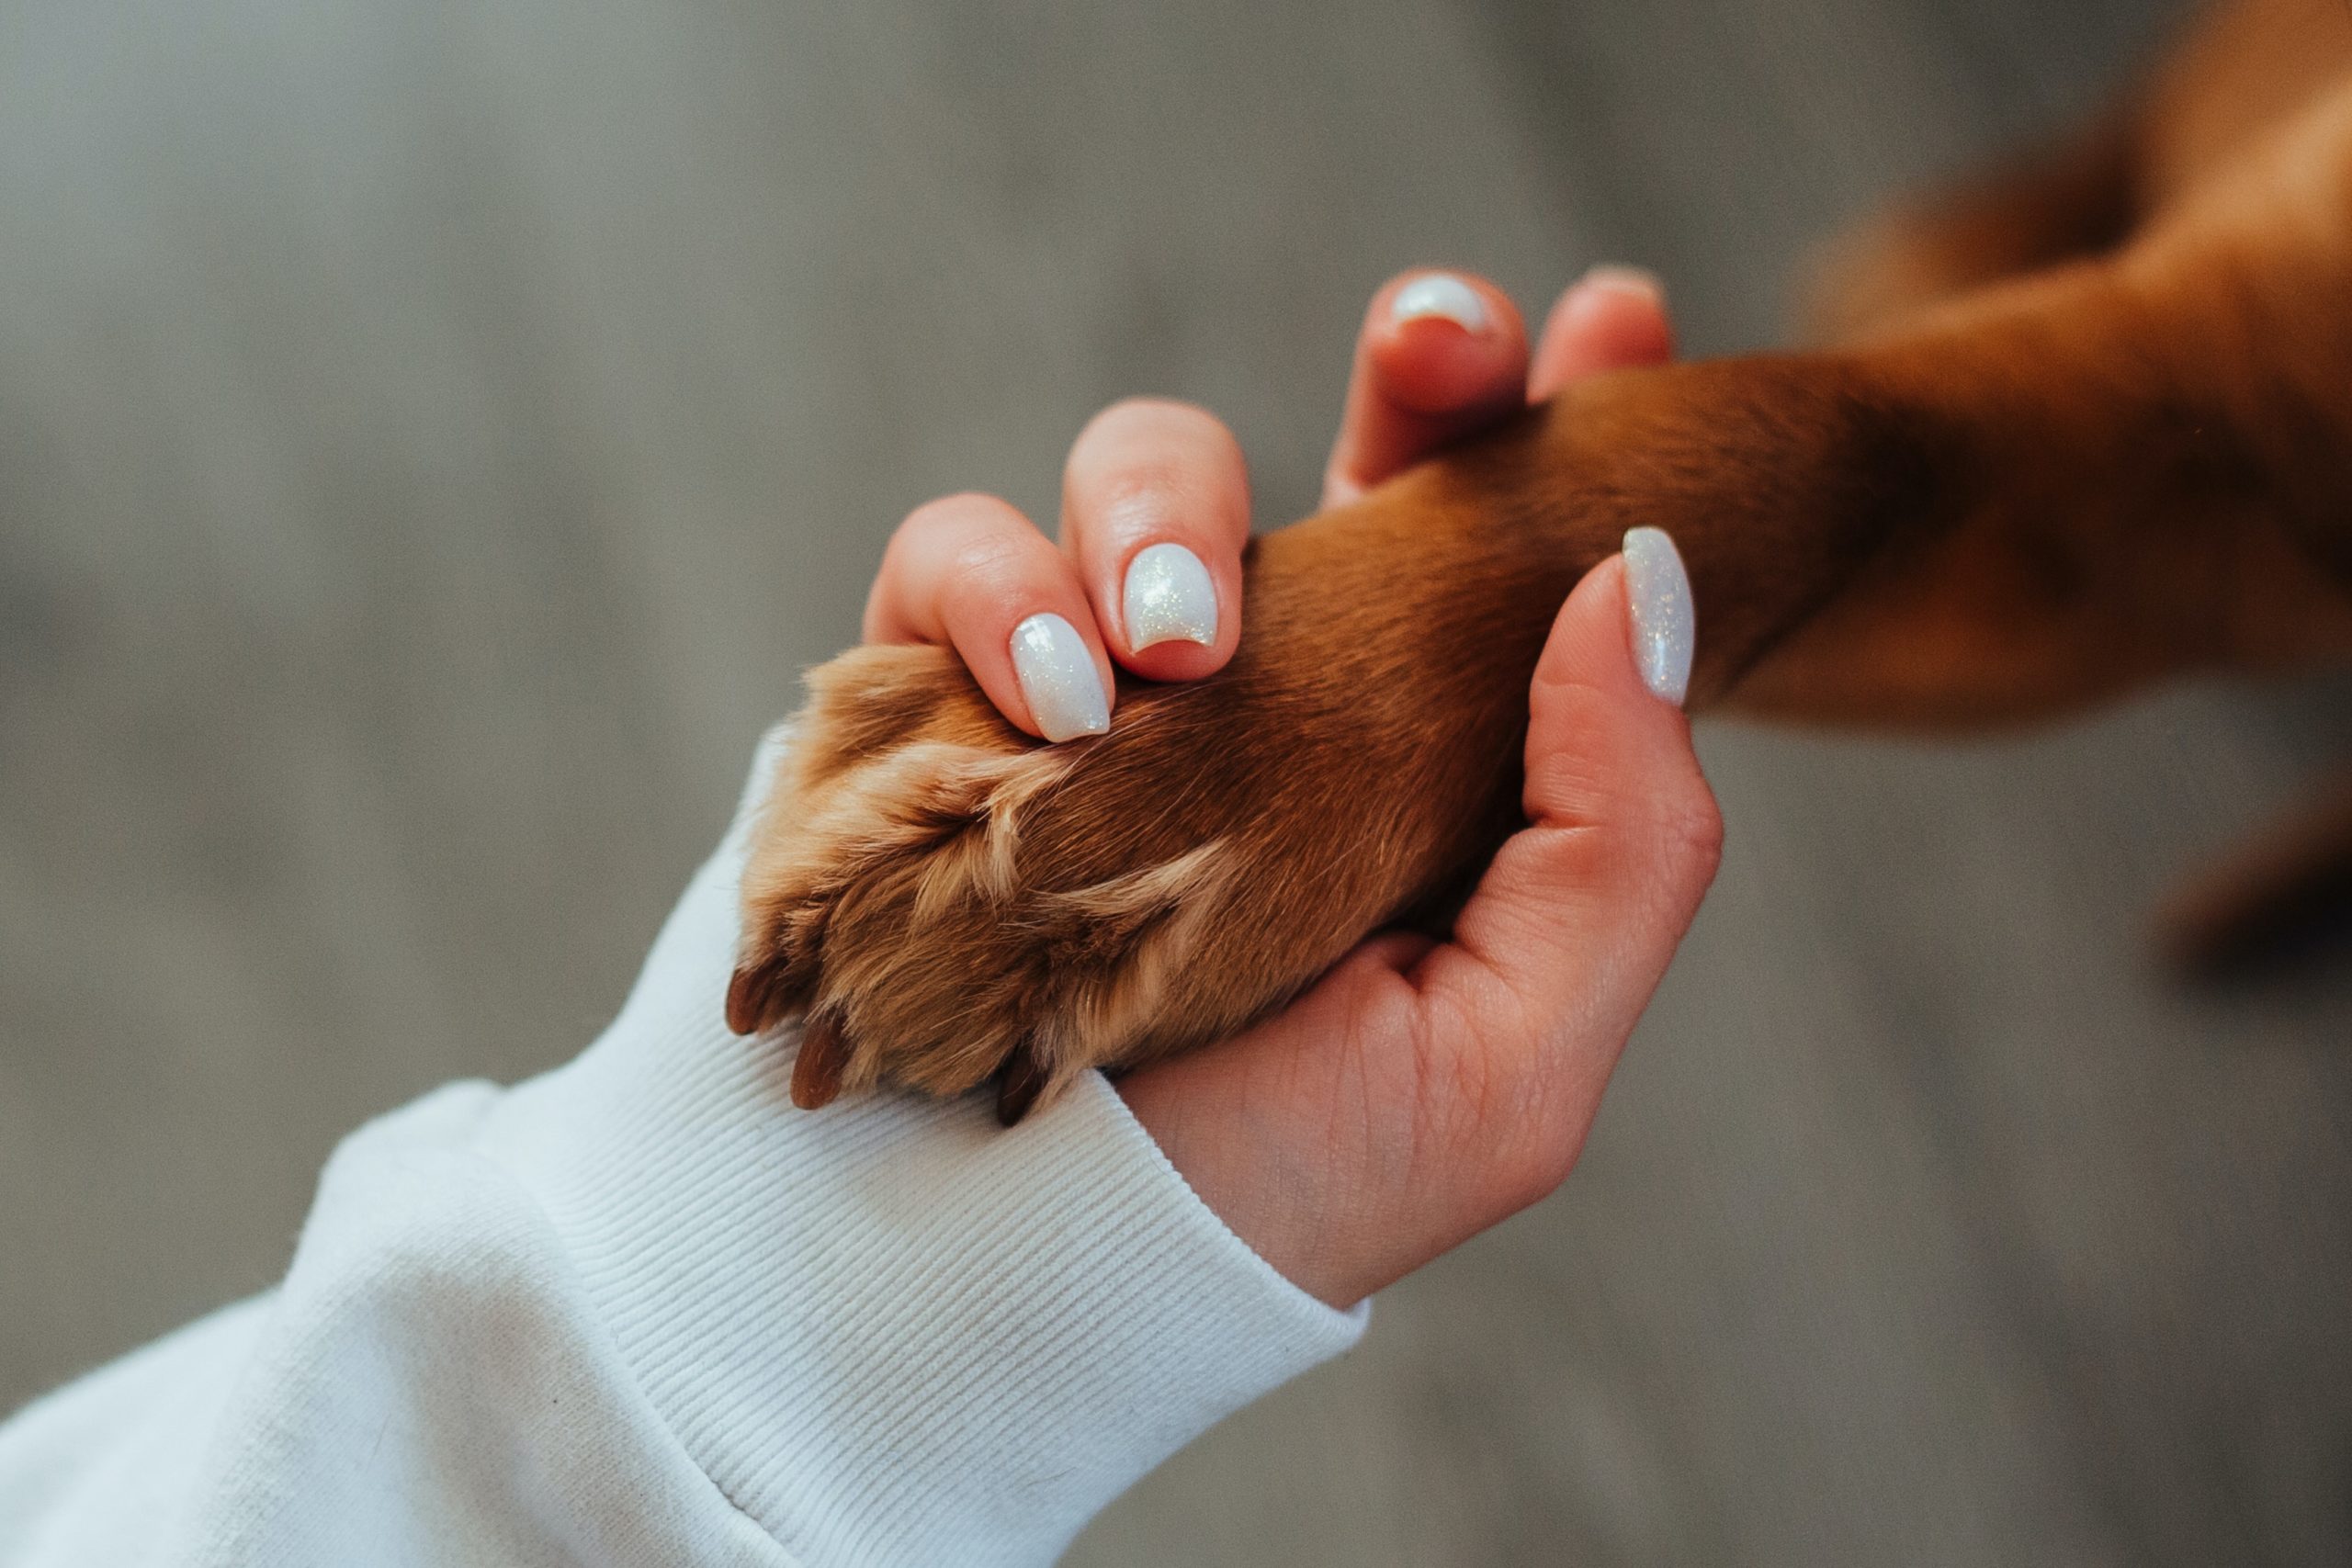
Handle their paws — including touching and holding each toe individually. Follow each touch with a yummy treat. Play with and gently hold their tail. Give a treat. Play with their ears. Time for a treat! Slide your fingers along their teeth. Treat! All the time being gentle while reinforcing the experience with loving praise.
If at any point your puppy shows stress or pulls away, stop the handling and have some play time to help them relax. Try again later, ideally when they are calm and relaxed, such as right before bedtime.
Go to the Groomer for Happy Visits and Partial Groom Practice
Once your dog has received their third round of vaccinations, and if the grooming shop is kept clean and follows proper sanitation protocols, they can start practicing puppy grooming appointments. This may simply be a quick visit to get some cuddles and treats from the groomer while standing in the tub, playing tug with the groomer while the blow dryer is on in the background, or working on a stuffed Toppl toy while getting their nails trimmed. Over time, you can start slowly adding more of what regular grooming appointments will include. This way, your puppy will associate going into the shop with positive experiences rather than just the place where they get a B-A-T-H.
For example, check out this video of my dog Fozzie Bear, when he was a young puppy, visiting his groomer for a simple brushing and nail trimming. He worked on a stuffed Toppl at the same time to help distract and create a positive association with all of the things happening around him.

How to Introduce Your Puppy to the Blow Dryer
 Don’t use the dryer directly on your pup at first. Just let them get used to the sound. When your puppy is comfortable with the hair dryer’s sound in the background, put it on the cool and low settings and gently turn the air stream along your dog’s back and shoulders. Go slow, and gradually start pointing the dryer toward them.
Many dogs absolutely love feeling air blow on their body and into their face — but not all do — so gradually (over time) expand the area of the body from their back to their sides, to their belly, and finally to the head and feet. This can often be successfully transitioned into a game.
Avoid blow drying their face directly, and it’s often a good idea to use a Happy Hoodie calming snood over their ears to protect their hearing.
When using a hairdryer on a pet, always do so with caution. Using a dryer for too long can lead to possible burns to the coat or even their skin. One great way of making sure that you never over-dry is simply keeping your hand between your pup and the dryer. As one hand holds the hairdryer, the other can brush, scratch, rub, or even tickle your dog. If your hand starts to get too warm, then you know that it’s also too warm for your dog, and it’s time to either move to another section of their body or to put the dryer down. Give them a break for a moment and repeat your drying as needed. Make it fun, and remember to reward them during and after all this good hairdryer play.
See this video of Preventive Vet team member Finnegan learning how to feel comfortable with the blow dryer.

Make time for regular brushings
Whether they need it or not (odds are they need it!), set aside time to brush or comb your dog a little each day. If you have a pup that’s anxious or scared of combs or brushes, start off slow and make some games out of this time together. The first thing to help make this a success is getting them comfortable with these objects. Set them down, and let them look at, smell, and even lick the brush and comb. Let them know that they are harmless. (This can also apply to your pup’s nail clippers!) One nice trick is to start using the back of the comb and brush at first. Just make simple strokes across their body without the brush bristles or comb teeth touching or pulling on them. Hopefully, this will be a short-term tactic resulting in long-term results. Then, you can gradually start letting their coat go through the brush and comb.
Many groomers recommend getting the ZoomGroom as your puppy’s first brush. This sets a foundation for the tools you will need to groom at home. Depending on your puppy’s coat, you may need a firmer bristle brush and a comb. Your groomer can always make the best recommendations.
Introduce Your Puppy to Being Bathed
Though there may be a direct correlation between the size of your dog and the ease of getting them in and out of their place to bathe at home—acclimating your dog to getting wet goes a long way in helping with future grooming.
The idea here is just like their crate training — let them know that a tub is not just a safe place to be—it can also be a comforting (even fun) place to be. The key is starting slow and using plenty of your puppy’s favorite things.

Do yourself and your puppy a favor, and begin each of these preparatory steps as soon as your dog comes to live with you in your home. All your work will pay off because each of these activities can be frustrating and stressful to dogs (of any age) if they are not properly exposed to all the elements of grooming. And if things don’t go well with any of these experiences — you too will feel frustrated.